
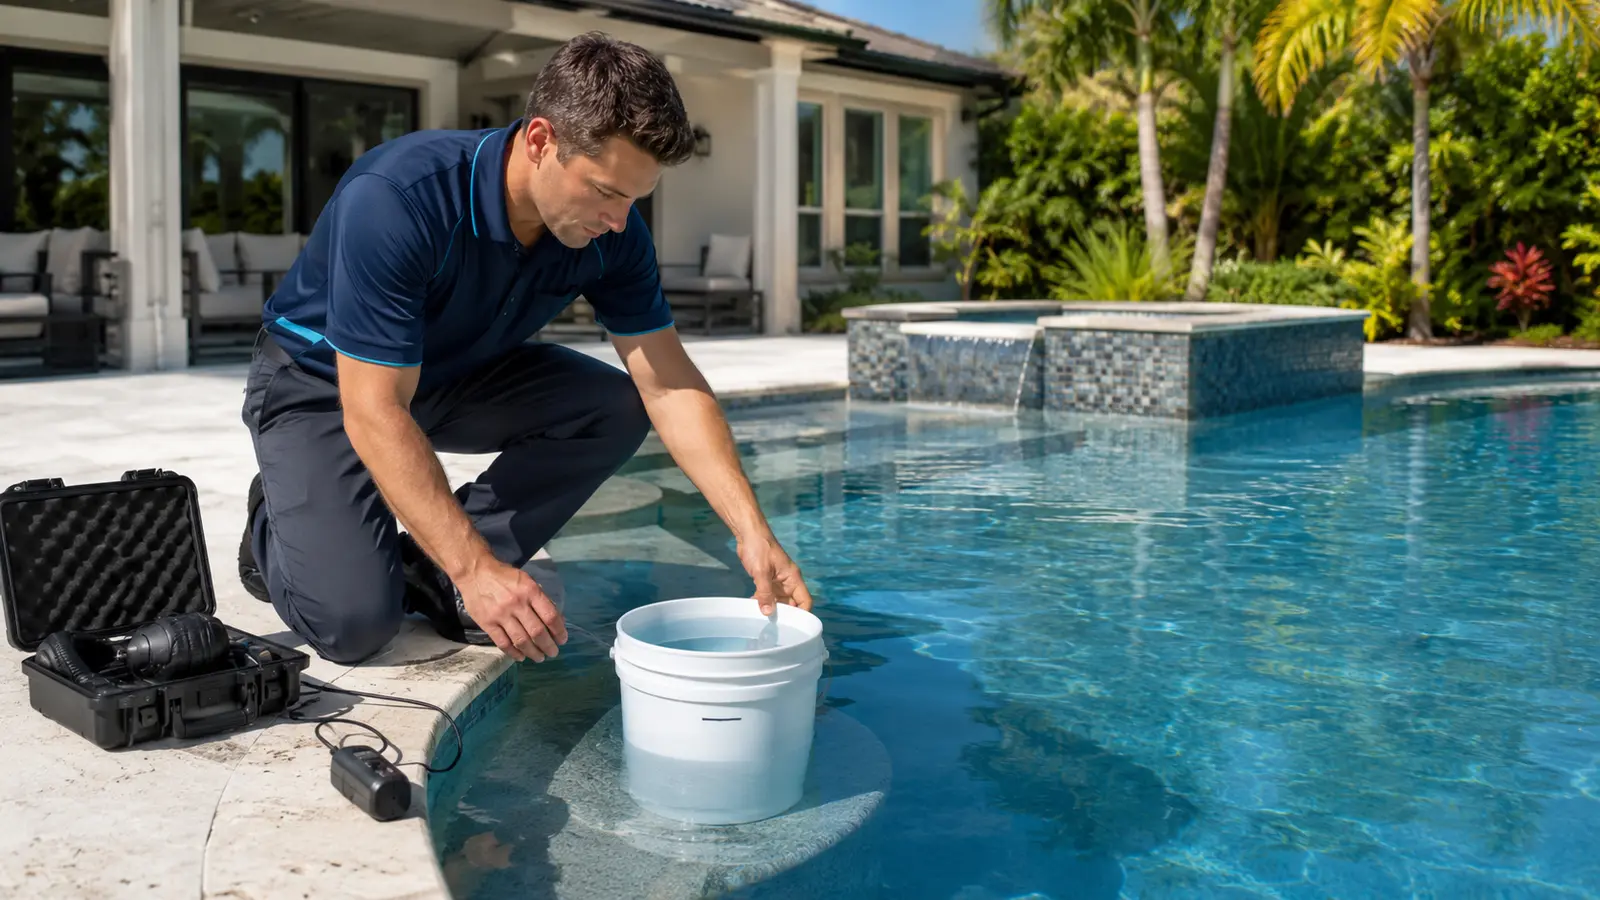
Florida pools lose water naturally through evaporation, splashing and filter maintenance. The amount can change sharply with heat, wind, humidity, direct sun, a heated spa or a continuously running waterfall. That is why guessing from a fixed “normal inches per day” rule often creates confusion.
The U.S. Environmental Protection Agency recommends an evaporation bucket test as a do-it-yourself leak check. It is inexpensive, requires no specialty equipment and compares both bodies of water under essentially the same weather conditions.
How to perform the 24-hour bucket test
- Choose a calm, dry period. Avoid running the test during rain, heavy wind or unusual pool use. Do not allow anyone to swim during the test.
- Turn off automatic water addition. Disable the autofill and stop any hose that is topping off the pool. You cannot measure loss while water is being added.
- Use a clean 2.5- to 5-gallon bucket. Set it securely on a broad pool step or bench. It must not float, tip or create a tripping hazard.
- Add pool water to the bucket. Fill it to roughly one inch below the rim. The weight should keep the bucket stable.
- Mark both starting levels. Mark the water level inside the bucket. Also mark or carefully measure the pool water level outside the bucket at the same time.
- Keep conditions consistent for 24 hours. For a simple EPA-style screening test, shut down filtration, cleaners and water features if the pool can safely remain off for that period. Follow equipment instructions and do not let the water fall below the skimmer.
- Compare the drops. Measure the change inside the bucket and in the pool. The bucket represents evaporation. Any additional drop in the pool points toward leakage.
How to interpret the result
| Result after 24 hours | Likely meaning |
|---|---|
| Bucket and pool fall by about the same amount | Evaporation is the likely explanation during that test period. |
| Pool falls noticeably more than the bucket | A leak is likely and professional diagnosis is reasonable. |
| Result is too close to call | Repeat on another dry day and measure carefully before drawing a conclusion. |
| Water level stops at a specific fitting or elevation | The stopping point may help narrow the source, but do not intentionally drain the pool to chase it. |
The bucket test cannot tell you whether the problem is in the shell, skimmer, light niche, drain, return fitting, equipment pad or underground plumbing. It only answers the first question: is the pool losing water faster than evaporation explains?
Other signs that may point to a leak
- The autofill runs much more often than usual.
- You repeatedly add water despite similar weather and pool use.
- The pool loses more than about two inches in a week; the EPA identifies this as a possible leak indicator.
- Air bubbles appear in the pump basket or return lines.
- There are wet areas, erosion or unusually green growth near the pool or equipment.
- The deck settles, cracks or remains damp without another explanation.
- Water chemistry becomes difficult to stabilize because fresh water is constantly replacing treated water.
- The water bill rises without a clear household cause.
One symptom does not prove the location. Air in the pump, for example, can come from a low water level, loose lid or suction-side problem. Wet soil can come from irrigation. Good leak detection separates evidence from coincidence.
Does the pool lose more water with the pump on?
That observation can be useful. A return-side plumbing leak may become worse while the pump pressurizes the line. A suction-side problem may draw air while the system runs and leak water differently when the pump stops. Leaks through the pool shell or a fitting may continue regardless of pump operation.
A technician may repeat controlled tests with the equipment on and off, isolate lines, use dye near suspected penetrations, listen with acoustic equipment or pressure-test plumbing. Those methods are meant to locate the source without blindly breaking the deck.
Common residential pool-leak locations
Pool water can escape from many places, including:
- Pump seals, unions, valves and filter connections.
- Skimmer throats and the joint between the skimmer and pool shell.
- Return fittings, cleaner lines and wall penetrations.
- Light niches and conduit.
- Cracks in plaster, tile joints, fiberglass or structural elements.
- Underground suction or return plumbing.
- Spa spillways, check valves and shared pool-spa systems.
Some leaks are visible at the equipment pad. Others disappear underground without leaving an obvious puddle. The goal of diagnosis is to identify the specific failing component before recommending repair.
What to do while waiting for diagnosis
Photograph or mark the water level at the same time each day. Note whether the pump was running, whether it rained and how much water you added. Keep the water high enough for safe equipment operation and do not allow the pool to drain below the skimmer. If the level is dropping rapidly, contact a professional promptly and ask whether the equipment should remain off.
Do not drain a concrete or fiberglass pool on your own. Florida’s high groundwater can create serious structural risk when the pressure outside an empty pool exceeds the pressure inside it.
Frequently asked questions
How much pool-water loss is normal?
It depends on temperature, wind, humidity, sunlight, water features and heating. The bucket test is more reliable than a fixed daily rule because it compares the pool and bucket under the same weather.
How accurate is the bucket test?
It is a useful screening tool, not a location test. It can indicate a leak but cannot identify the exact source.
Can a leak happen only when the pump runs?
Yes. Pressurized return-side leaks may lose more water with the pump running, while other problems show differently when it is off.
Should I keep adding water?
Maintain enough water to protect the pump and finish while arranging diagnosis, but do not ignore continuing loss. Monitor it closely.